Long exposure photography can produce stunning photos. Nighttime shots can bring out unexpected detail and create amazing light effects. Daytime long exposure can create images with haunting moods and ethereal imagery. None of this is actually hard to achieve, but it does take a little thought and preparation. Here are some tips to ease you into long exposure photography.
Long exposures work well for certain types of subjects like seascapes, landscapes and cityscapes. The key to getting a successful long exposure image is to have something in your image that is perfectly still and something that is moving. Water, clouds and trees blowing in the wind all work well if the rest of the scene is stationary. This difference between the elements in the scene will create drama and will add significant value to your image. The viewer will be seeing something that cannot be seen with the naked eye. The reason why long exposure images are so compelling is that they warp time. Water looks like a soft mist, trees look like a dull blur and clouds become long and streaky. This is what makes a familiar scene more compelling.
Long exposures are ideally shot on Manual mode. If you are not sure how to shoot in Manual mode, you can use one of the other semi-manual modes such as Aperture priority or Shutter priority. Here are some quick pointers on the settings:
Shutter speed – depending on the light in your scene, your shutter time will need to be at least a 10 to 15 seconds, or longer if necessary. If you are doing a seascape and the water is moving quickly, then a few seconds may be long enough to make the water look misty.
Aperture – you will want to have your aperture set at anywhere between f/8 and f/16. This again, will be determined by how much light is in the scene and how long you want to expose for.
ISO – keep your ISO settings as low as possible, ISO 100 is what I use for long exposures.
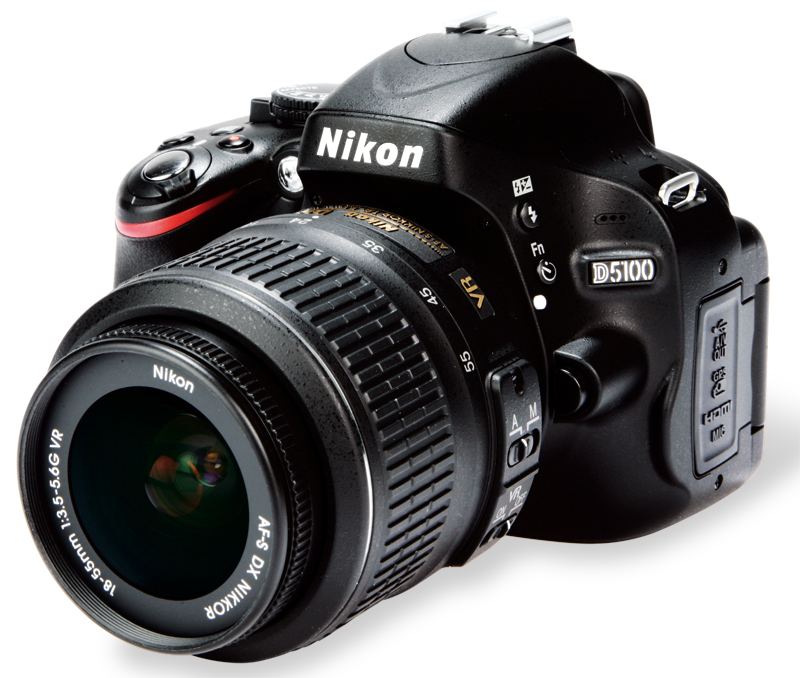
For many years, the two most popular types of digital cameras have been compact models and digital SLRs. Each offers advantages over the other.
For many years, the two most popular types of digital cameras have been compact models and digital SLRs. Each offers advantages over the other. Compacts are small (many will actually fit in a pocket), simple and self-contained. DSLRs, on the other hand, typically produce much better image quality (due to their larger image sensors), are much quicker, accept a wide range of interchangeable lenses and have convenient eye-level, through-the-lens optical viewfinders.
Over the last couple of years, a new type of digital camera has arrived on the scene, and quickly gained popularity: the mirrorless interchangeable-lens camera. In fact, in 2011, more mirrorless models were introduced than DSLRs. Mirrorless models combine compact size with DSLR image quality, thanks (in most cases) to putting a DSLR sensor into a compact body.
SPEED
Today's DSLRs start up and wake up from sleep mode very quickly, and there's little lag between the moment you fully depress the shutter button to take a shot and the moment the shot is actually taken. And their phase-detection AF systems are very quick, capable of handling the toughest action subjects (in normal mode; in live-view mode, they use contrast-based AF, which is much slower). This hasn't been the case with the compact digital cameras.
But today's mirrorless models also are very quick. They start up and wake up more like DSLRs than like compact cameras, and their contrast-based AF systems are amazingly quick. In fact, current Panasonic mirrorless models offer "the world's fastest level of Light Speed AF with precise Contrast AF"; new Olympus mirrorless cameras provide "the world's fastest autofocus" (claimed to be faster than a top DSLR's phase-detection system); and Nikon's new 1-series mirrorless models offer a hybrid focal-plane phase-detection/contrast AF system that can work at 10 fps.
WHICH ONE IS FOR YOU?
To determine which is better for you—mirrorless or DSLR—you have to consider your own photography. As far as image quality is concerned, the top mirrorless models can match that of the top APS-C DSLRs. Mirrorless cameras are much smaller and lighter, making them easy to carry for long periods, and easy to use inconspicuously.
DSLRs are better balanced with longer lenses, and better suited for action photography. All DSLRs have convenient eye-level viewfinders, while some mirrorless cameras don't. Mirrorless cameras that do have electronic viewfinders often aren't as good as the finders on midrange DSLR cameras (some feel the EVFs are better than the pentamirror finders of many low-end DSLRs—check this out for yourself before buying either camera type).
The mirrorless interchangeable-lens cameras are rapidly gaining market share, and not just among casual photographers, so, obviously, they're just what many photographers are looking for: truly compact cameras that make top-quality images.
All-in-one zooms that can cover wide-angles to telephoto
Over time, many pros build up an impressive arsenal of lenses for specialized use, but if you're just starting out, superzooms are a great way to save on cost while still being able to cover most subjects. Digital lens design has mitigated the difference in image quality between zooms and prime lenses for the most part, as well, so what are the downsides? Unlike prime focal-length lenses like a 35mm or 50mm lens or very expensive professional zooms, the aperture on a superzoom is variable. This means that at the wide end of the zoom, your minimum aperture is different than the minimum aperture on the telephoto end. That's problematic if you're shooting manually, as your aperture may change while you're moving through the zoom range, and this affects your exposure and focus.
The Canon EF 24-105mm ƒ/4L IS USM all-in-one professional zoom, for example, is available with a constant aperture of ƒ/4 through the whole range of the zoom. Lenses require very sophisticated designs and expensive optics to maintain a "constant" aperture throughout the range, so this lens is comparatively very heavy to other zoom lenses, and is also more expensive than most at $1,149.
Canon also has a number of their own affordable all-in-one zooms, including the EF-S 18-200mm ƒ/3.5-5.6 IS and the EF-S 18-135mm ƒ/3.5-5.6 IS, as well as a Stepless Motor version of the same lens for silent autofocusing during video, the EF-S 18-135mm ƒ/3.5-5.6 IS STM. (The EF-S 18-135mm ƒ/3.5-5.6 IS STM is available in a kit purchase with the well-regarded Canon EOS 70D if you happen to be looking for a good prosumer camera.) The more capable EF-S 18-200mm ƒ/3.5-5.6 IS gains much further reach, however, with a 35mm equivalent zoom range of 29-320mm. Optical image stabilization on all three lenses provides up to four stops of shake compensation. Estimated Street Price: $499 (EF-S 18-135mm ƒ/3.5-5.6 IS); $549 (EF-S 18-135mm ƒ/3.5-5.6 IS STM); $699 (EF-S 18-200mm ƒ/3.5-5.6 IS); $1,549 (EOS 70D with 18-135mm ƒ/3.5-5.6 IS STM).
The Sigma 18-250mm ƒ/3.5-6.3 DC Macro OS HSM is a popular lens thanks to its massive coverage range at an incredibly low price point. Unlike any other lens in this class, it also has macro abilities for close-up photography at a magnification ratio of 1:2.9 and a minimum focusing distance of only 13.8 inches from the front of the lens. With approximately 28-400mm of coverage in 35mm equivalence, the zoom is available for a variety of APS-C mounts, including Canon, Nikon, Pentax, Sigma and Sony Alpha. Each weighs 1.04 pounds, with a length of 3.5 inches. Estimated Street Price: $349.
Tips for getting the best results when working with a professional photo lab
Before digital, enjoying and sharing photographs meant either slideshows, or more commonly, prints. Printmaking is an art unto itself, and that's no less true in digital photography. Some photographers prefer to master this part of the craft and make their own prints with a fine-art photo printer, but others prefer the convenience of working with a pro photo lab.
While the business of these labs is to make beautiful, high-quality prints, there are still some considerations for the photographer to weigh in the process. We talked with pro photographers Andy Biggs and Drew Gurian, both of whom are known for their iconic black-and-white images, as well as Bay Photo founder Larry Abitbol and Marieke Goethe of WhiteWall photo lab, to get insights that will help you arrive at prints that match your vision.
START WITH A GREAT IMAGE
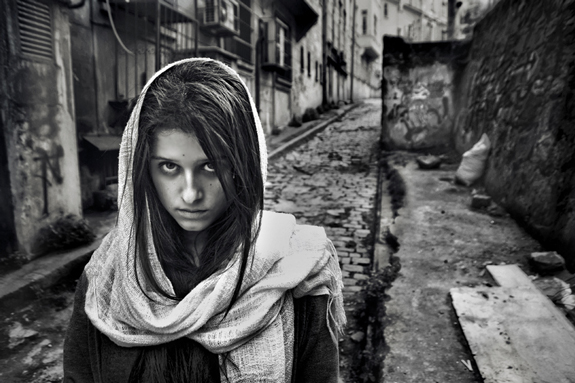
The first step in the printing process is creating the photo itself. It's important to understand how colors translate to black-and-white, and to previsualize the composition. "Certain images are made to be black-and-white in my mind," says Drew Gurian. "I'm influenced by how I started in photography, which was shooting black-and-white film. Colors can actually be a distraction, so it enables you to kind of dive in a little bit deeper and tell a bit of a stronger, captivating story more easily because you don't have color to distract you."
Gurian often changes the in-camera picture control setting to monochrome so the preview JPEG appears in black-and-white, allowing him to check that it matches his visualization.
Andy Biggs agrees, "I really go out there with an idea that 'this is a black-and-white' and 'this is a color' because it does alter how I compose a photograph. I'm a lot more sensitive to how a subject conflicts with its environment with color." For example, he notes, "If you were to photograph a subject that's dark red in front of dark blue, when you convert it to black-and-white, a lot of times it's actually the same tone, and they don't look any different."
“Photography is a way of feeling, of touching, of loving. What you have caught on film is captured forever… It remembers little things, long after you have forgotten everything.”
—Aaron Siskind